How to Load 35mm Film into the Reto 3D Camera
- Nathaniel Stephan
- October 12, 2022
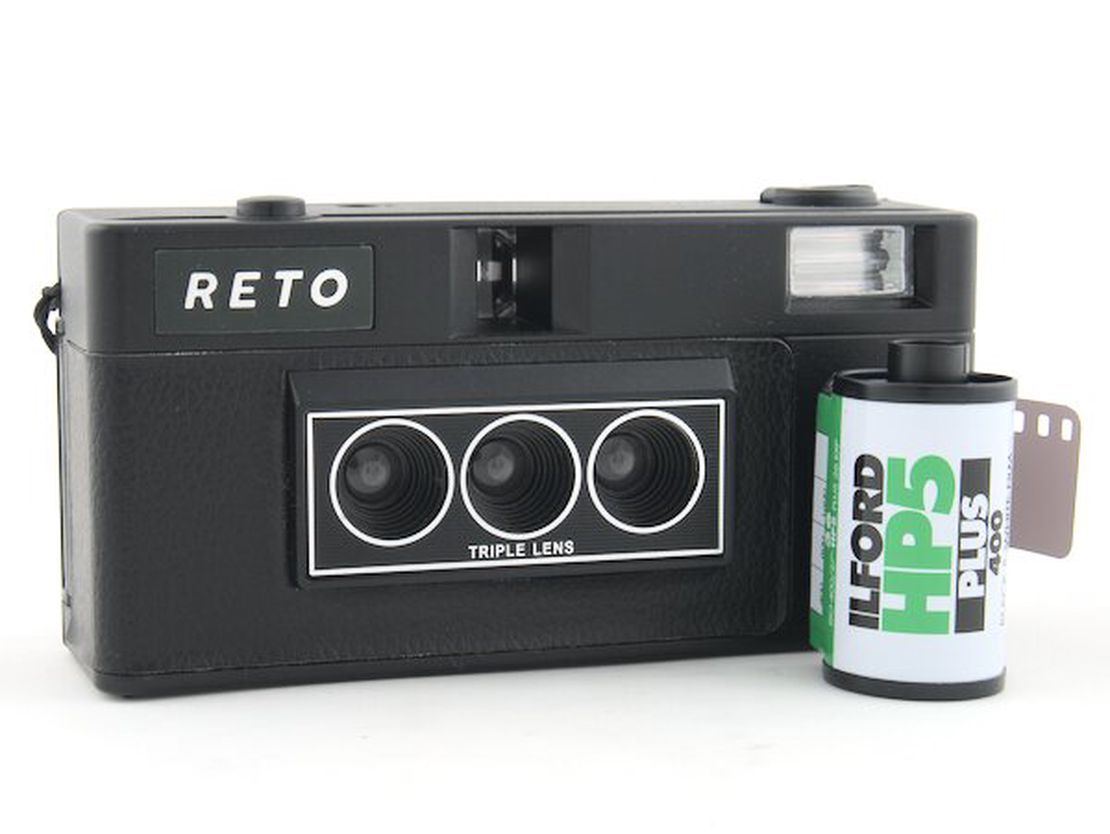
Table of Contents
This page will show you how to make sure your Reto 3D camera is functioning and how to load film into your camera. If this is your first time using your Reto 3D, make sure to read through the before you load film section.
How to Load Film
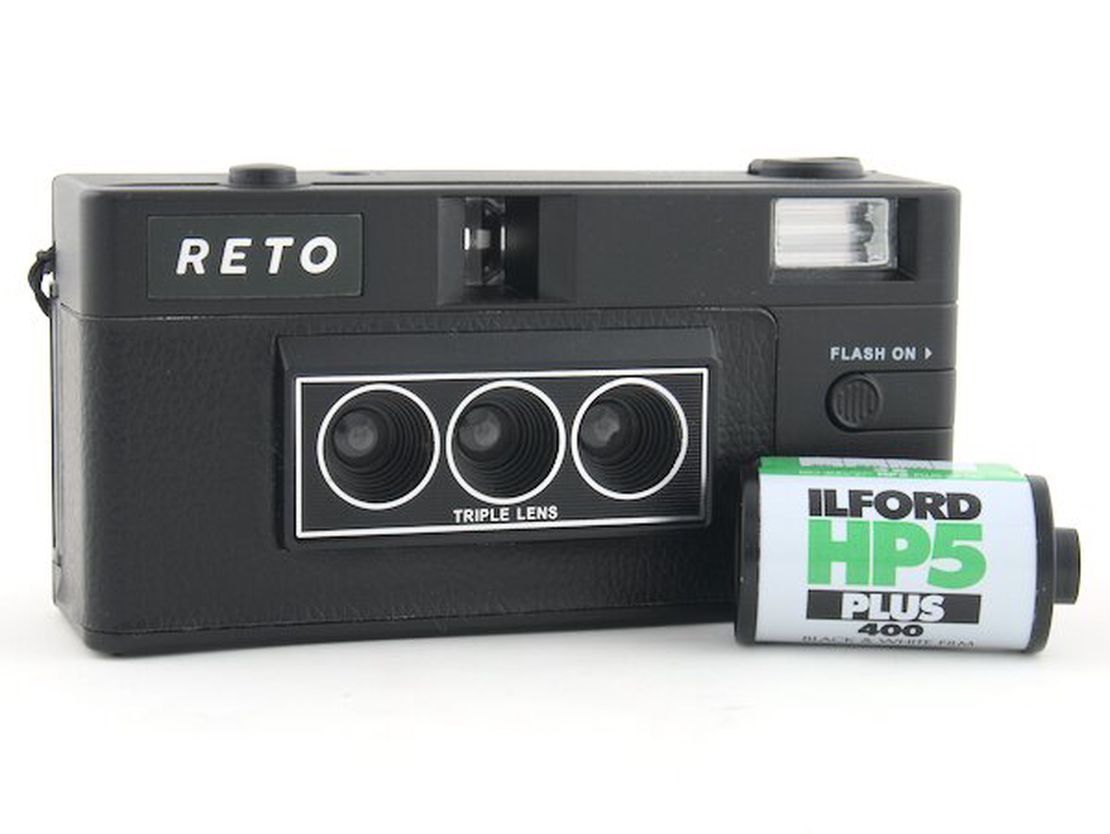
How to load film into the Reto 3D. For demonstration purposes, I am using a roll of film found in a thrift store camera that has been exposed.
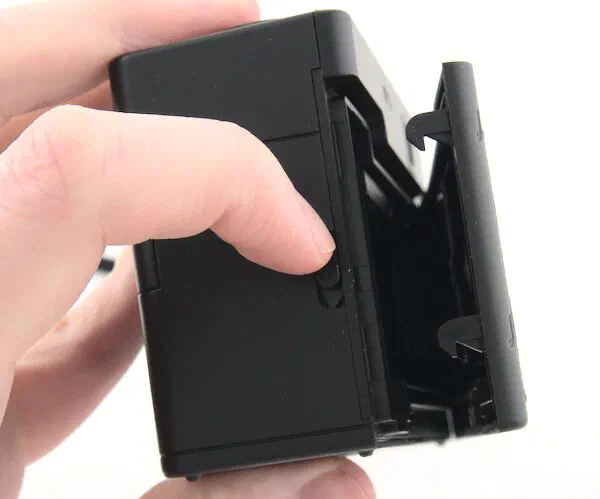
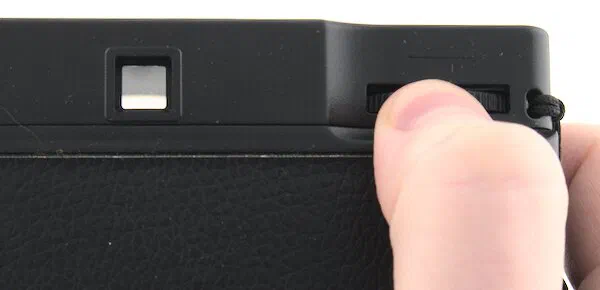
Open the film door.
To open the film door on the Reto 3D, push down on the film release button on the side of the camera.
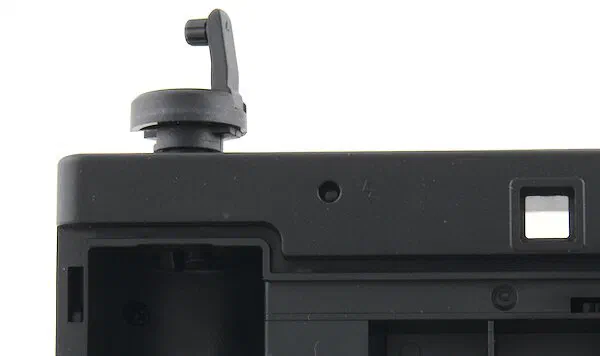
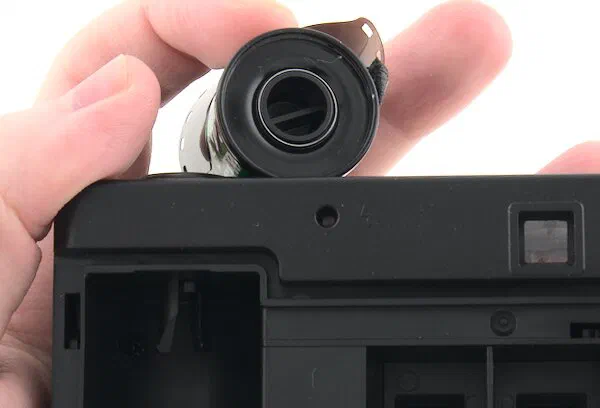
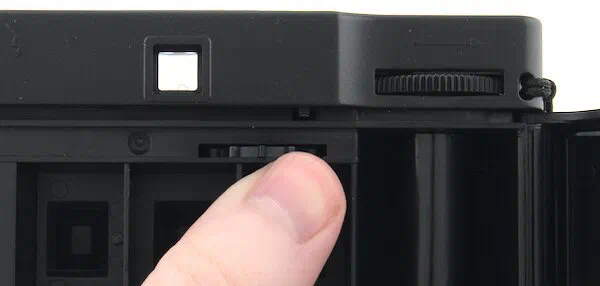
Reto 3D Open Film Door Pull the film rewind knob up.
Pulling the film rewind knob up will raise the prongs and allow you to insert the roll of 35mm film.
Reto 3D Pull Film Rewind Knob Up Load the roll of film.
The film roll gets loaded into the left side of the camera with the film leader on the bottom. The film leader is the rounded half-width section at the start of every roll of film. Tilting the film canister towards the top of the camera can make loading easier.
Reto 3D Insert 35mm Film Canister Push the film rewind knob down.
Push the film rewind knob down. This will hold the roll of film in place.

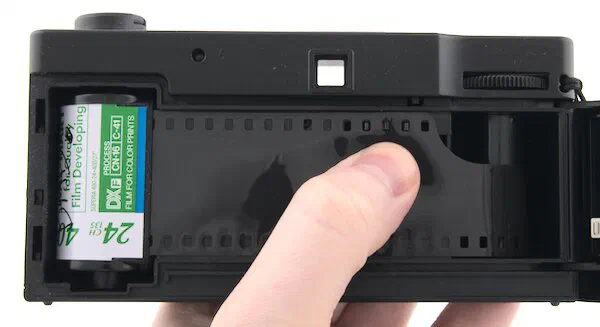
Reto 3D Film Rewind Knob Down Make sure the film rewind knob prongs align with the film canister.
If you have any problems pushing the film rewind knob down, rotate it a quarter turn. This will allow the prongs to be aligned correctly with the film canister.
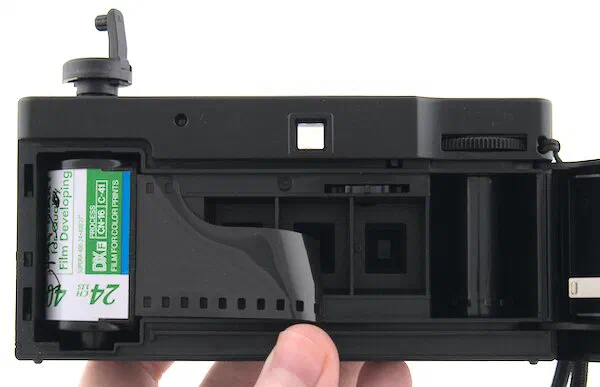
Reto 3D Align Film Canister Pull the film leader over to the film take-up spool.
With your left hand hold the film canister in place. With your right hand gently pull the film leader over to the film take-up spool on the right side of the camera. Make sure to pull the film over far enough so that the perforations along the top of the film align with the sprockets above the right-most lens.
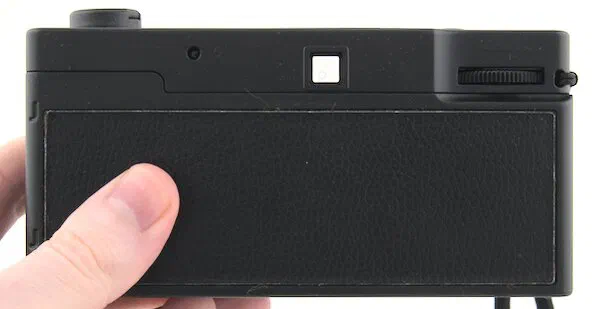
Reto 3D Pull Film Leader Over Close the film door.
Carefully close the film door. You want to make sure the film stays aligned with the sprockets so the shutter can be cocked.
Reto 3D Close Film Back Advance the film and fire the shutter.
With your right thumb advance the film and fire the shutter. You want to advance the film counter to the first frame. This process will get rid of the film that was exposed during the loading process. Pay attention to the film rewind knob, it should rotate counter-clockwise when you use the film advance wheel.
Reto 3D Advance Film Advance and fire the shutter until the frame counter is at 1.
The film needs to be advanced past what was exposed during the loading process. To do this you will need to cock and fire the shutter a couple of times until the frame counter is at 1.
Reto 3D Frame Counter You’re ready to take photographs.
Congratulations! Your camera is now loaded with film and ready to shoot. Once you’ve shot the roll of film, check out this guide that will show you how to unload film from the Reto 3D.
Where to develop film? You can do it at home, or send it off to a lab to be developed and scanned.
How to Know When a Roll of Film is Done?
The film roll is used up when you are no longer able to turn the thumbwheel film advance. Do not try to force the film to advance. It is time to
This usually aligns with half the number of exposures the roll contains that can be seen on the film counter.
This is because every release of the shutter button with the Reto 3D uses 3 35mm half frames. For example a 36-exposure roll of Ilford HP5 Plus would allow you to take 24 shots. A 24-exposure roll of film would be able to produce 18 shots.
Before You Load Film
Batteries Not Required
The Reto 3D has a mechanical shutter. Like many of film cameras, no batteries are required to use the camera.
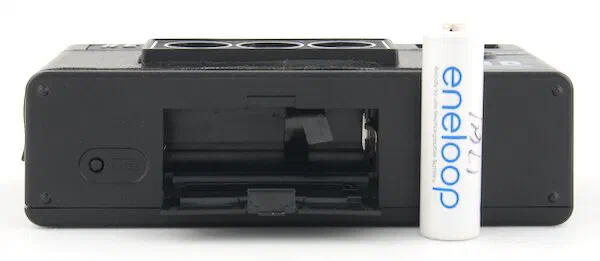
There is a built-in flash. In order to use the flash you will need one AA battery.
Make Sure There is No Film Loaded in the Camera
If there is any film left in the camera, it will be ruined if it is exposed to light. The Reto 3D does not have a way to check if there is film loaded in the camera.
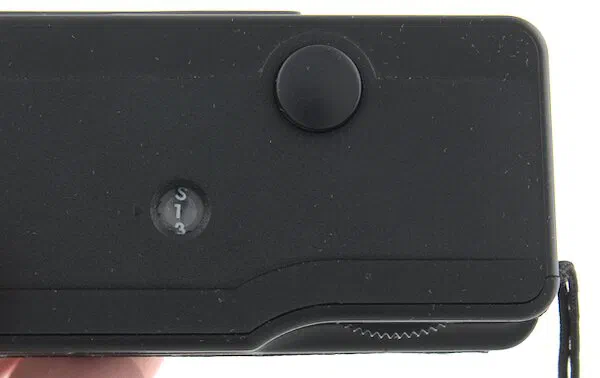
You can check the frame counter on the top of the camera. If it is a number instead of ‘S’, there is possibly film in the camera.
If there is film in the camera, follow the steps on how to rewind and remove film from the Reto 3D.
Make Sure the Reto 3D Functions Correctly
If your Reto 3D has not been used in a long time or if it is your first time using the camera, check to make sure the shutter is functioning correctly.
In order to cock the shutter, you will need to open the camera back. You will need to manually turn the wheel with sprockets on it above the three lenses.
Rotate the sprocket to the right (counter clockwise). When you hear a click, the shutter is ready to be fired.
With the back of the camera still open, point it towards a light source or white wall. Look at the back of the lenses and push the shutter release button. You should see a brief flash of light or white if the shutter is working correctly.
The film advance wheel on the camera pulls the film and the perforations in the film turn the wheel. This is different from the majority of toy cameras.
Do Not Load Film in Sunlight
Loading film in direct sunlight or bright light can expose more than just the film outside of the canister through light piping.
Light piping is when light is able to get through the light seal on a 35mm film canister. This often will not completely expose the film, but can cause it to end up with varying degrees of fogging.
Fogging can produce a range of undesirable outcomes such as a loss of contrast, blown out streaks along edges, or a completely exposed frame. The problem should subside as more images are taken.
Film Choices
The official film recommendations for the Reto 3D are to use ISO 100 or 200 speed film on a sunny day. On cloudy days or indoors ISO 400 or 800 should be used. The flash can also be used indoors or if it is cloudy.
I think that you’ll be best off with ISO 400 speed film unless you’re going to be in full sun, in which case I would use ISO 200 film.
Keep in mind that film degrades in quality over time. Keep film away from hot temperatures like those found in a car on a sunny day or attic during summer.
For the best results, use a fresh pack of film that is not expired. My recommendations are:
Affiliate Advertising Disclosure
Outside the Shot is a participant in the Amazon Services LLC Associates Program, an affiliate advertising program designed to provide a means for sites to earn advertising fees by advertising and linking to Amazon.com. As an eBay Partner, I may be compensated if you make a purchase. I also participate in affiliate advertising programs with KEH, and WEX Photo Video. More can be found on the Affiliate Disclosure page.