What Is Balsam Separation? Can A Lens Be Repaired?
- Nathaniel Stephan
- May 3, 2025

Table of Contents
Balsam separation is a form of delamination.
Discussions of lens design will include the number of elements and groups. Some elements will have air gaps and others will be epoxied together.
Canada balsam (Canada turpentine) began being used as an optical cement in the 1830’s. It’s a resin from the balsam fir tree, most of which, live in Canada.
Modern lenses use epoxies that are resistant to solvents and temperature extremes. Canada balsam can also fail due to age.
Old lenses go through multiple owners. Someone could have used a solvent to clean grease off. They could have been left in an hot attic or car trunk in the sun.
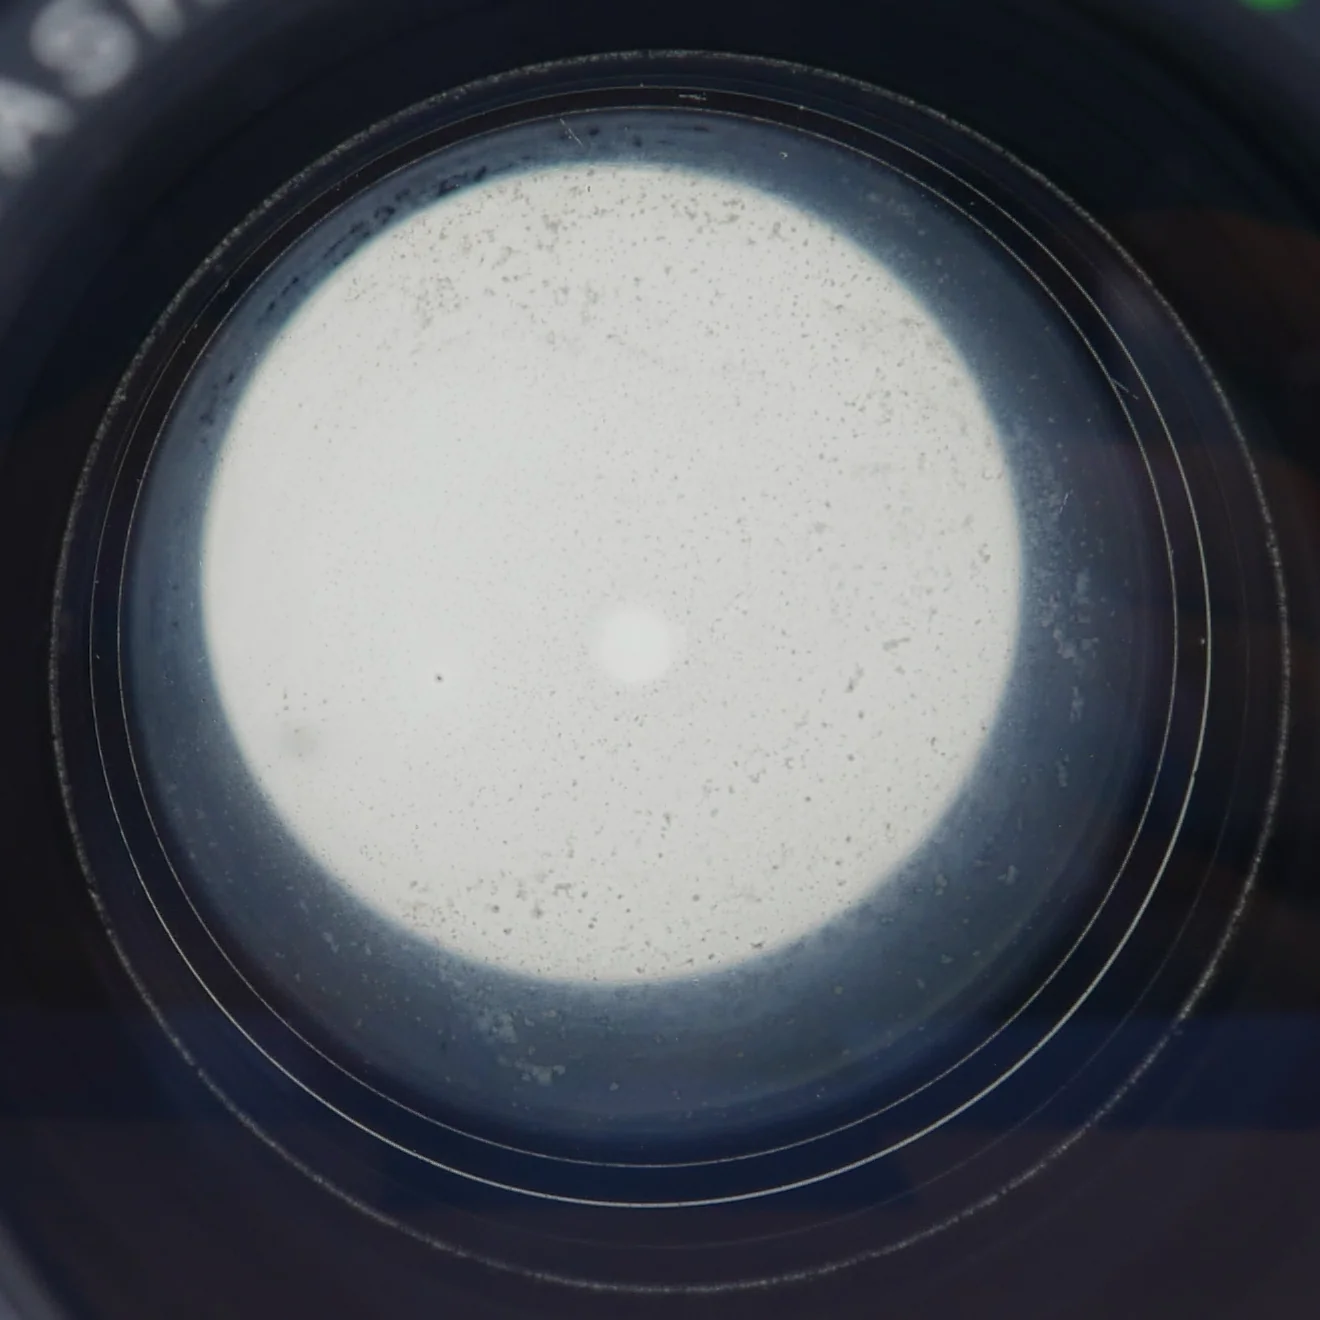
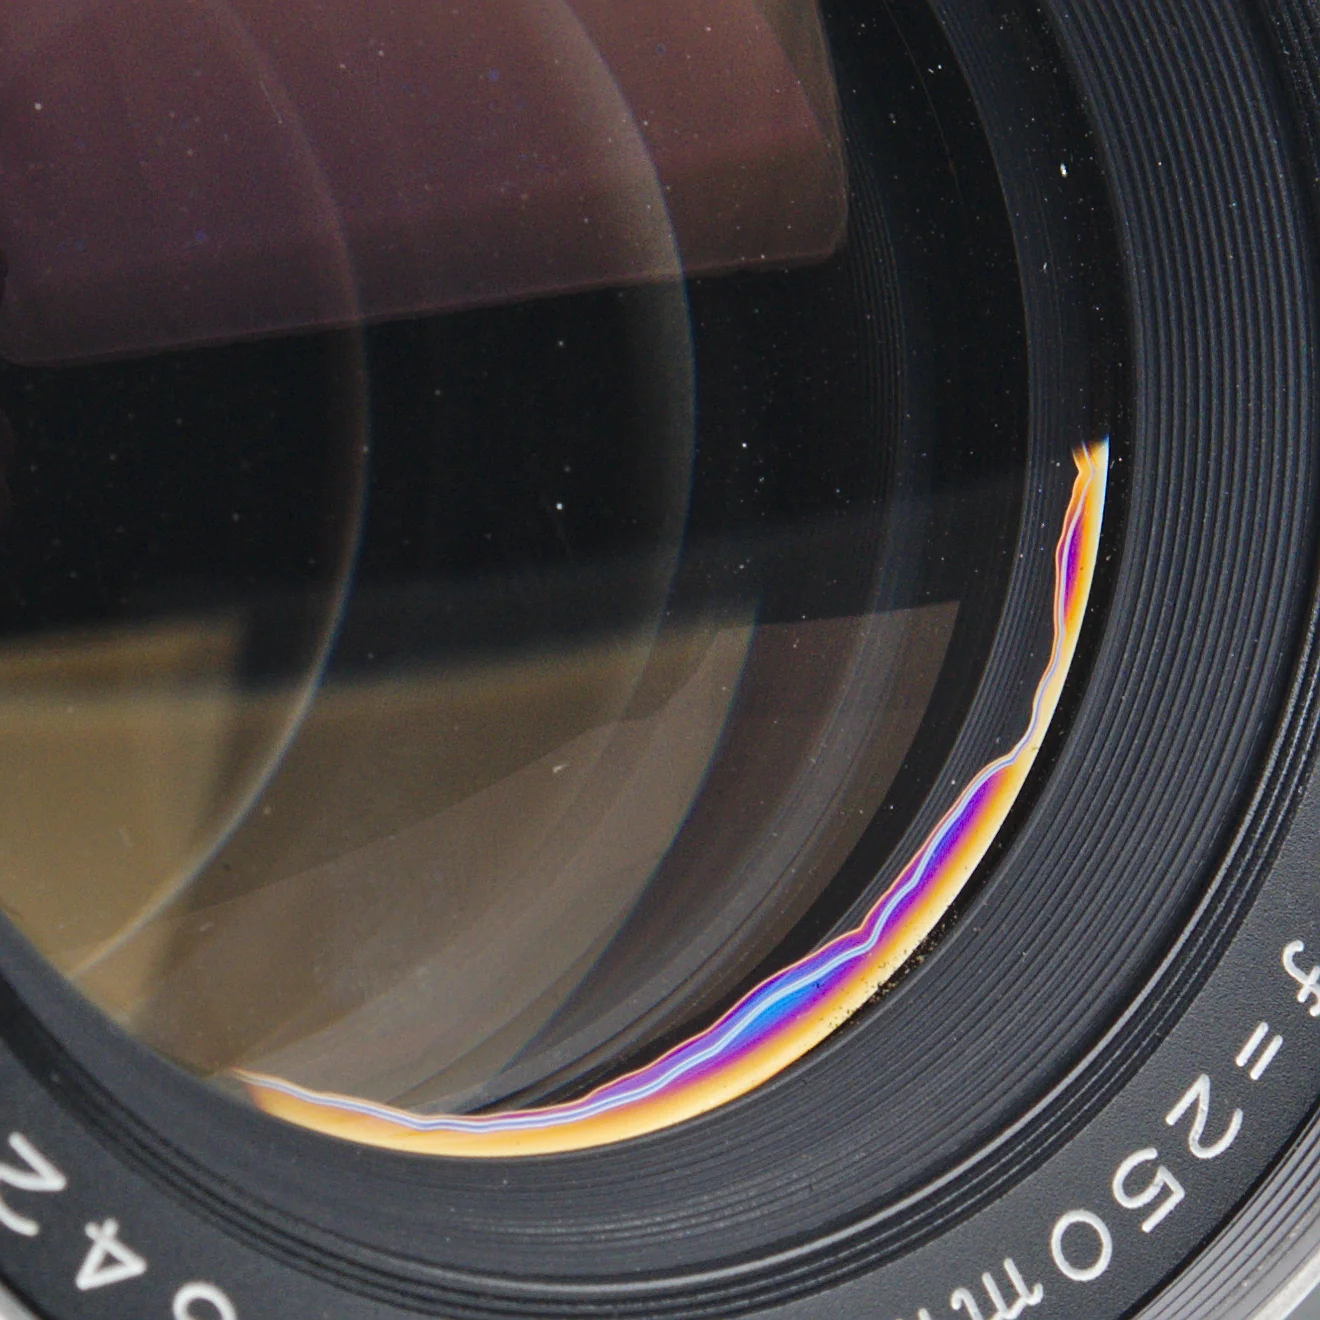
If the bond fails, elements will begin to separate. It can be seen by looking through the lens. What it looks like will depend on the lens coatings.
Older lenses with fewer or no coatings, separation will appear milky or powdery white.
Lenses from the 1970’s and newer, the delamination look white or a rainbow halo around the delamination.
You will be able to see the separation more easily than a small amount of haze or fungus.

Balsam Separation Effect on Images

A small amount of separation along the edges of the lens group will have little effect on image quality. As the separation gets worse you can encounter:
- A decrease in contrast. Similar to what you would see in a lens with haze.
- More flare and ghosting.
- Softer corners and a loss of sharpness over the frame.
- Focusing may become difficult.
- “Dust spots” on the images from remnants of the adhesive used to bond the elements.
If the elements come completely apart, the lens will be unusable.
Canada Balsam

Canada balsam is turpentine made from balsam fir tree resin. The resin is dissolved in oil, which allows it to be applied to lens optics.
It is important because it has a refractive index that is similar to crown glass and is invisible when dry. In addition to cementing lens elements, it was also used for mounting microscope slides.
Once dried, the balsam is amorphous, meaning it does not have a crystalline structure. This is desirable because the optical properties will not degrade over time.
Unfortunately, Canada balsam is not resistant to temperature extremes or solvents. This is why care should be taken if you are cleaning or removing fungus/haze from an older lens.
During World War II, epoxy, polyester, and urethane-based adhesives replaced balsam. Modern lenses use UV-cured epoxies to cement lens elements together.
Balsam Separation Repair

There are a couple options for repair.
The easiest option would be to find a camera store that does repairs. Even if they don’t, they might know someone that does.
Less expensive lenses might not make economic sense to pay someone to repair. Those become attractive candidates for you to learn DIY repair with.
Get replacements from a damaged lens
The fastest and easiest option is to get a lens being sold for parts. I know there are tons of cheap broken lenses on eBay.
You can practice disassembling the broken lens. If you run into problems, you won’t ruin your lens that is in better cosmetic condition.
Look for lenses with scratched front or rear elements. Avoid ones that smell like cigarettes, have water damage, or have buttons/dials super-glued in place. (Yes, I have seen multiple lenses where the previous owner super-glued different things in place.)
Try to re-cement the lens
If you’re feeling bold you can try to re-cement the elements that are separating.
I have not done this. It’s too much of a time commitment from me. Plus, I don’t have any lenses that I need to repair.
Removing a lens group
My rule of thumb is that the less expensive a lens originally was, the more difficult it will be to take apart.
For instance, lenses made of plastic can be impossible to disassemble. They weren’t made to be repaired. If anyone had a warranty problem, they’d just get a new lens.
On the other hand, professional lenses were designed to be serviced. Depending on the lens, you may be able to find factory service manuals.
You will most likely need a lens wrench and screwdrivers.
I like a v-shaped lens wrenches. I liked the wrench from Japan Hobby Tools. For a deeper reach, I think the compass style wrenches are better. All the H-style ones I’ve used have slipped as I could never get the adjustments tight enough.
Separating the lens elements
An alignment marks needs to be made on the edges of the lenses before they are separated. A diamond-tipped tool can be used.
If this is not done, they will need to be optically re-aligned. This is done with a collimator (Wikipedia)
Heat or a solvent can be used.
Canada balsam will be the easiest to work with. Newer epoxies will be more difficult.
Acetone or isopropyl alcohol are the first solvents to try. Both are flammable. Wear glovse, eye protection, use a container with a lid in a well-vented area, and have a fire extinguisher.
To separate with heat, an oven or water bath can be used. Start at a temperature of 100° F or 38° C. Increase the temperature 25°F or 14° C every 30-60 minutes until the elements come apart. Keep in mind, a solvent is still going to be needed to clean it.
Epoxy the Element Back Together
To re-cement the elements back together, you’ll need some optical UV epoxy, a proper UV light source. You can get some from Thorlabs or Edmund Optics.
You need to thoroughly clean both elements and make sure there is no dust on them. Ideally, you would do this process in a laminar flow cabinet to ensure dust-free working conditions.
Apply a small drop of UV epoxy and use the scribe mark to align the elements.
Once everything is correctly aligned, use a UV light source to cure the epoxy.

